
Whether you’re a seasoned professional aiming to dive into local data insights or just getting started, this guide will help you set up your AreaPro account with ease.
Step-by-Step Account Creation #
Access the AreaPro Homepage #
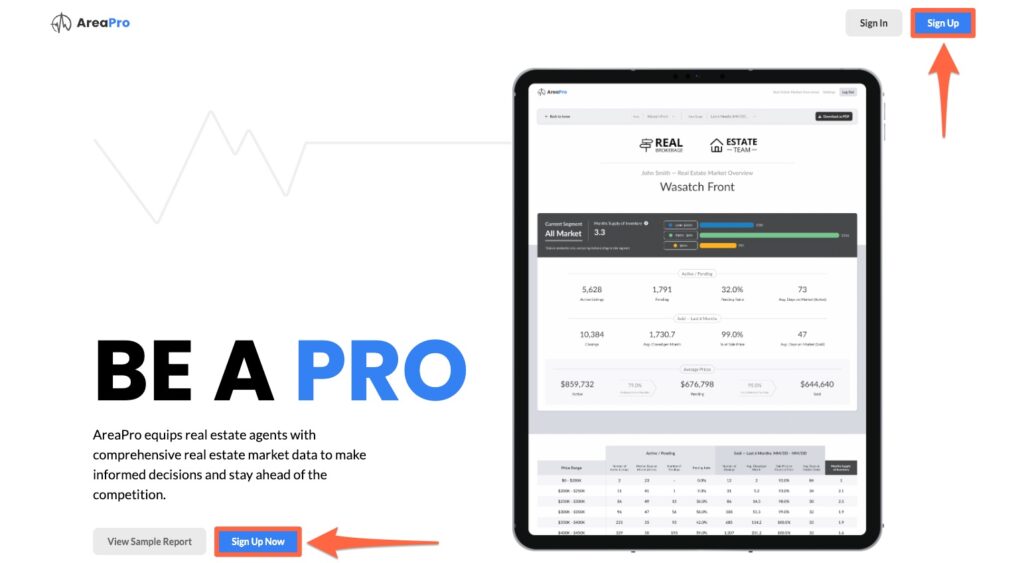
In your web browser, navigate to app.areapro.com. This will take you directly to our homepage.
Initiate the Sign-up Process #
If you’re a new user or looking to create an account, click on the ‘Sign Up‘ option.
Input Personal Details #
Enter your first and last names, and your email address.
Complete Account Details #
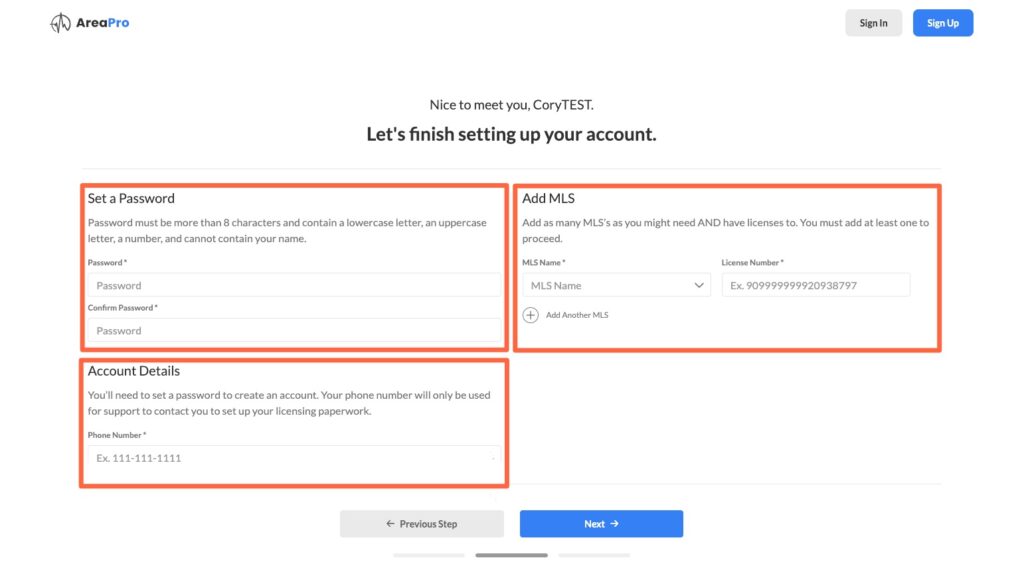
Click ‘Next‘, and you’ll be prompted to create a password and input additional details.
- Create a password for your account.
- Choose your MLS (Multiple Listing Service) from the dropdown.
- Provide your license number.
- Enter your phone number.
Account Verification #
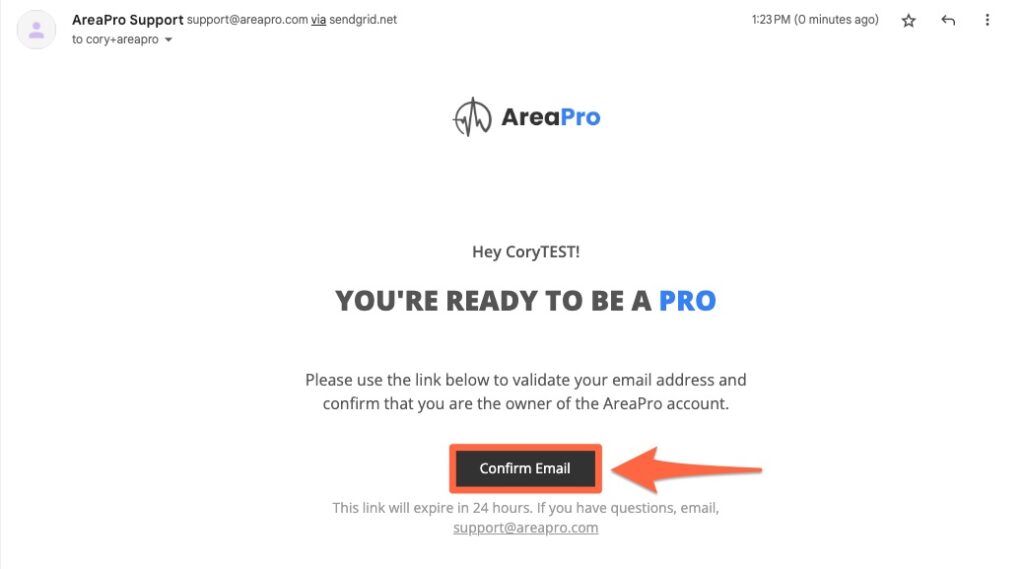
Once you’ve completed the above steps and clicked next, you’ll receive a verification email. Open this email and click on the ‘Confirm Email‘ link.
Login to Your New Account #
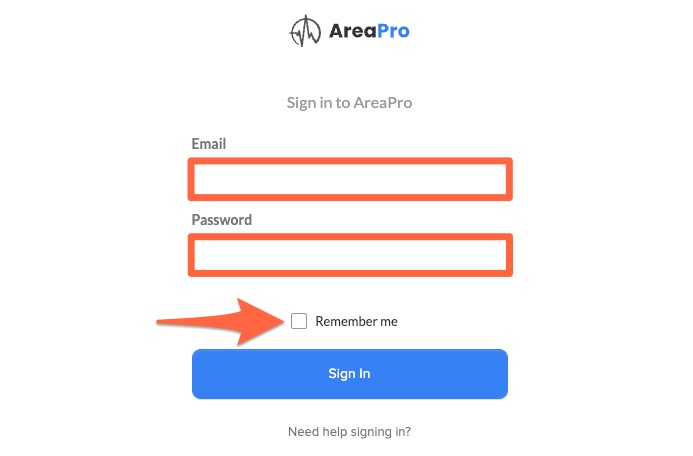
After verifying your email, you’ll be redirected to the login page. Enter the email address and password you’ve just set up.
TIP: If you’re using your personal computer, check the ‘Remember Me’ option for easier access in the future. However, avoid this step if you’re on a public computer.
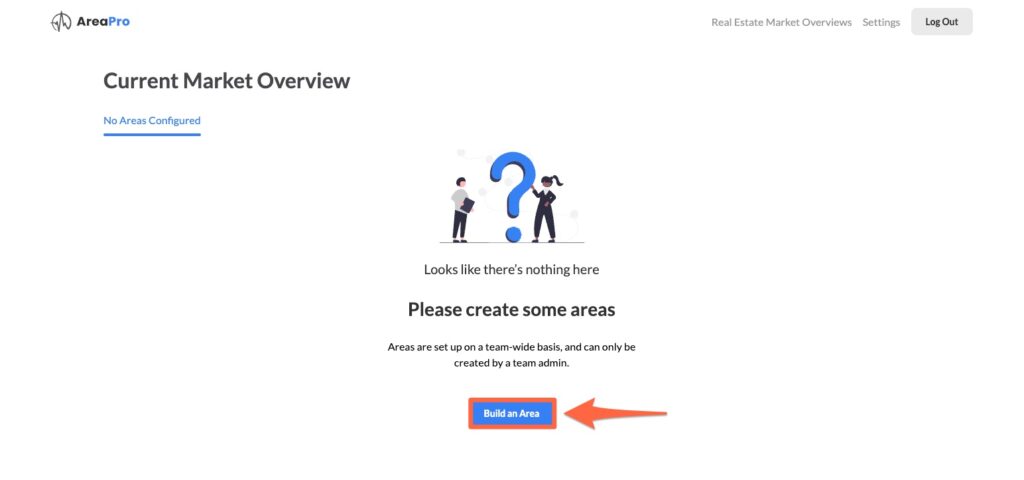
Welcome to AreaPro! #
Upon signing in, you’ll land inside AreaPro. As a fresh account, you won’t see predefined areas yet. Your next step will be to ‘Build an Area‘.
Conclusion #
Congratulations on setting up your AreaPro account! You’re now on your way to mastering the market with local data insights.
For additional support or questions, please contact our support team.


Can you refresh my memory on how to add additional zip codes to the team settings?